
An unfortunate accident led to another client needing a Tiffany lamp repair. This precious standard lamp was toppled by the lady’s husband, resulting in a lot of damage and a big dent.
She was keen to have it repaired because her son had bought it for her and it had great sentimental value. It was also an attractive design.
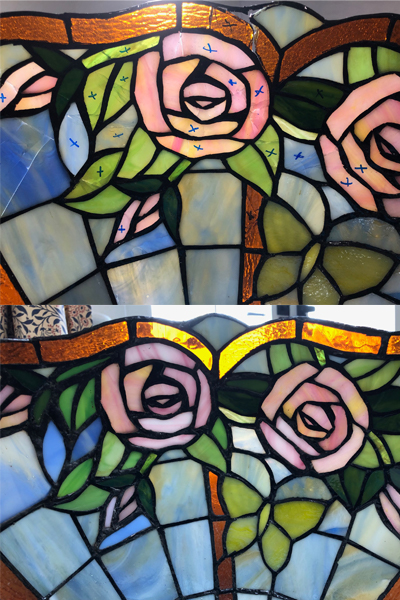
The first job when starting a Tiffany lamp repair is to check over the whole lamp – both inside and outside – to ensure all of the damage is noted. Sometimes a fracture is only noticeable on one side. I like to mark each broken or cracked area with a cross to ensure I don’t miss any when cutting all the replacement stained glass pieces. As you can see from the detail photo below, there were many damaged pieces in this case.
I spent some time trying to match the colours of the broken stained glass pieces. Luckily there were several tones in the pink and blue glasses so my similar new glasses blended in well with the existing ones.
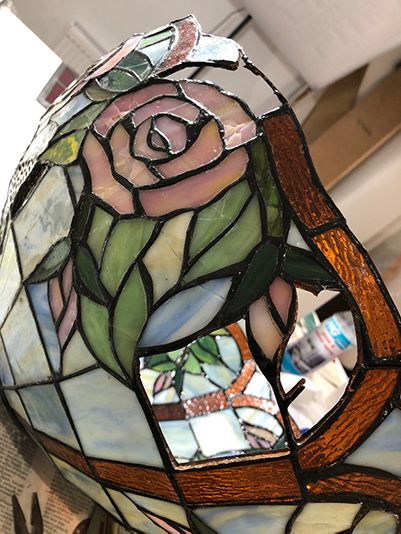
Once the replacement glasses had been selected, I set about removing each broken area in turn (see photo below), cutting new glass and foiling round each piece.
For some reason, this Tiffany lamp had been finished with a coat of varnish on the inside and out, which made it difficult to solder the new pieces to the old ones. However, with perseverance, gradually each damaged area was removed and replaced. I did my best to restore the original round shape, too.
The customer was delighted with her Tiffany lamp repair and sent me some photos of it once it was reinstalled safely at home. One of these is shown in the main feature image at the top of this piece.


0 Comments