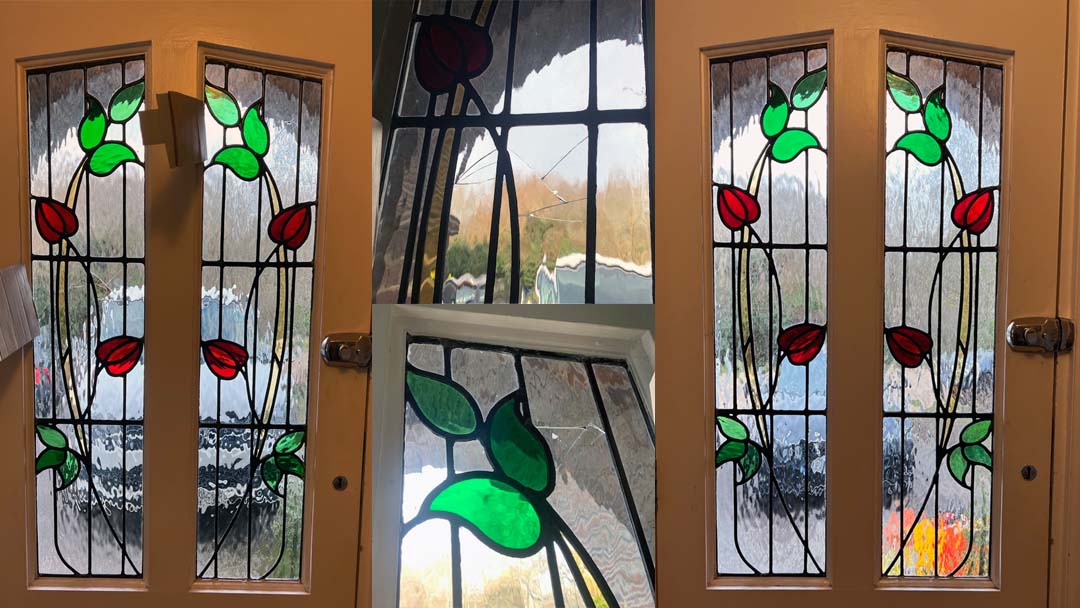
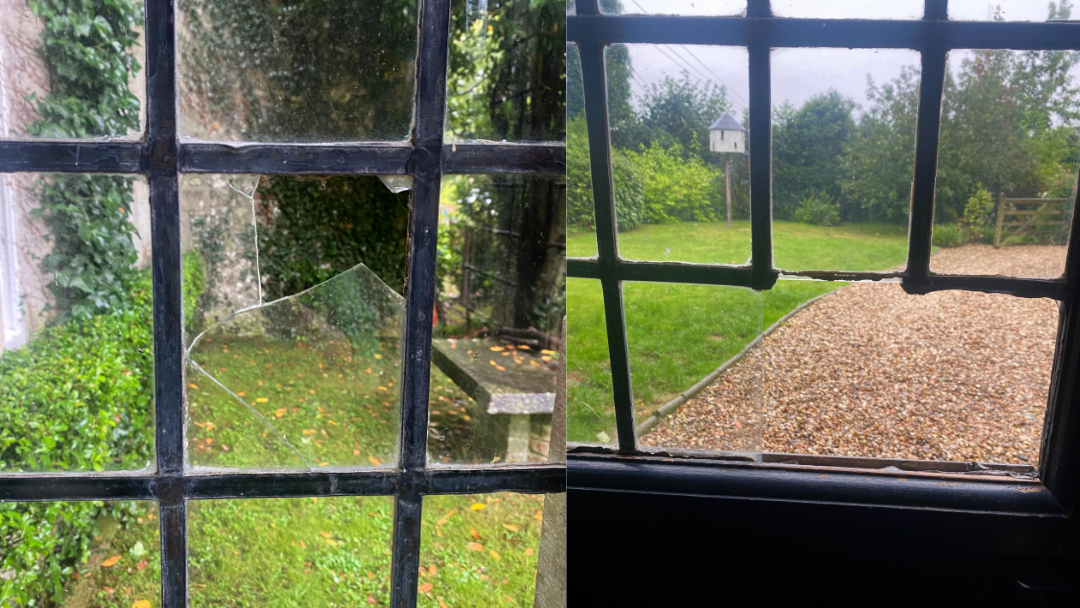
On a chilly – but thankfully not rainy – day recently I travelled to Wallington, near Fareham in Hampshire, to carry out a repair to a front door that had some broken stained glass pieces.
Sadly sometimes beautiful stained glass panels get damaged and those in front doors are particularly vulnerable. Where there are just a few cracked or broken pieces it is worth trying to repair and replace them in situ. This is because it is a labour-intensive job to remove the whole panel and board up the hole while the work is carried out.
Often is just one or two pieces that need attention, but they look unsightly and spoil the owners’ enjoyment of their stained glass design. Plus there is always the chance that a crack will get worse over time with daily use of the door.
Upon my first visit to the property in Wallington I checked the stained glass to confirm what sort it was. It is always best to check it in person as photographs can be deceptive. Happily the glass was as I had expected from the initial photographs the client had sent.
I also created templates of the broken panes. In this case there were five pieces that the owner wanted replaced.
As the process of carrying out a repair in situ is slow and laborious, I knew that five pieces was probably the maximum I would replace in one day. The templates would be used back in the studio to cut replacement pieces close to the correct sizes, ready for the repair work on site.
I have to take a lot of equipment with me for an in situ stained glass repair because I need to be prepared for every eventuality. I also take my small grinder, which is invaluable for trimming each piece of new glass to fit its space.
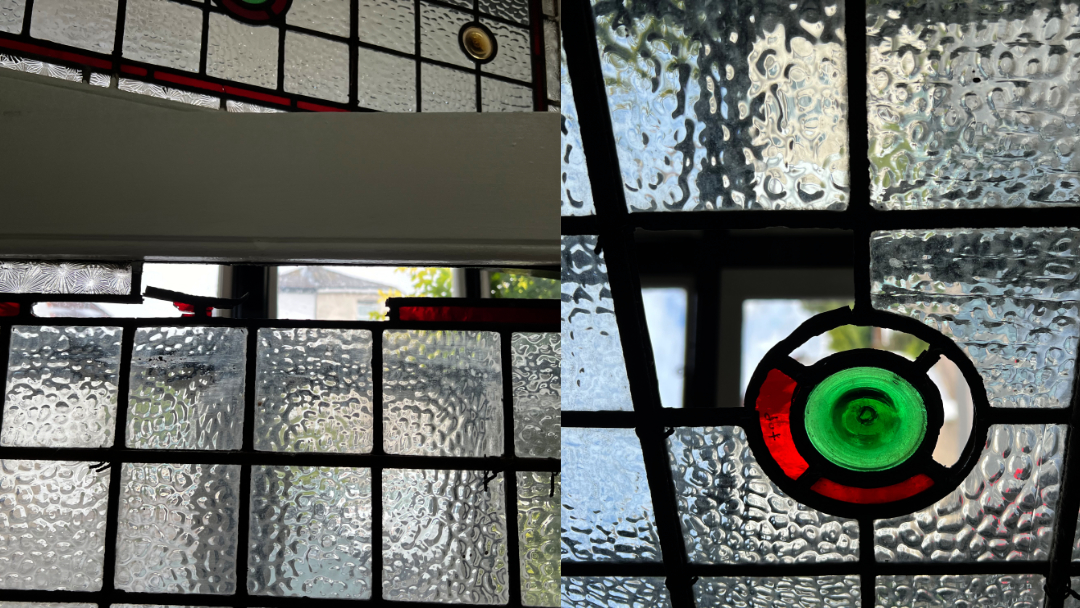
The first task on site is to remove the damaged glass pieces. If some glass is already missing then it is easier to remove the remaining shards. However, most panes need to be scored with a glass cutter to assist removal. There is a fine balance between using just enough effort to knock out the glass but not to stress the surrounding panes, which could lead to further damaged areas.
After all the stained glass is carefully removed, the old filler must be chipped out to leave a smooth surface in the heart of each lead strip. Then the leads have to be opened up on one side to allow the new glass piece to be fitted in the space. The glass has to be ground carefully to fit – without going too small, as then it could fall out the other side! It is quite an aerobic workout going up and down between the grinder and the space where the glass has to go, making tiny adjustments to each piece of stained glass in turn. This part of the job seems to take forever, but it is very satisfying when the piece finally slots into position. Of course in this case, this had to be repeated for five pieces of stained glass.
Once the piece fits its hole, the opened lead must be pressed back down to hold it in position. Again, this is a slow and fiddly process, as the lead can be difficult to work with and you cannot afford to slip and put pressure on the glass instead. Again, this could damage the new glass or stress the glass nearby.
A day of battling glass shards and brittle filler, ground glass specks and lead folding is rounded off with the messy job of applying lead light cement to each new pane to fix it in place securely and ensure it is watertight. Normally in the studio this is done when the window is horizontal and has time to dry. However for an in situ repair, it has to be applied on the vertical and cannot be left still to dry for a week or two. I try to use the thickest, gloopiest cement for a door repair, to ensure it won’t run down the door.
It is also difficult to clean the new panes as they are loose until the filler has dried sufficiently. I recommend that the door is treated very carefully for a week or two while the cement dries properly and then the panes can be cleaned more effectively.
After all that very hard work, I am pleased to say that the clients were extremely pleased to have their attractive Art Deco stained glass design restored to its former glory. It is also a lot warmer in their hallway now!




0 Comments