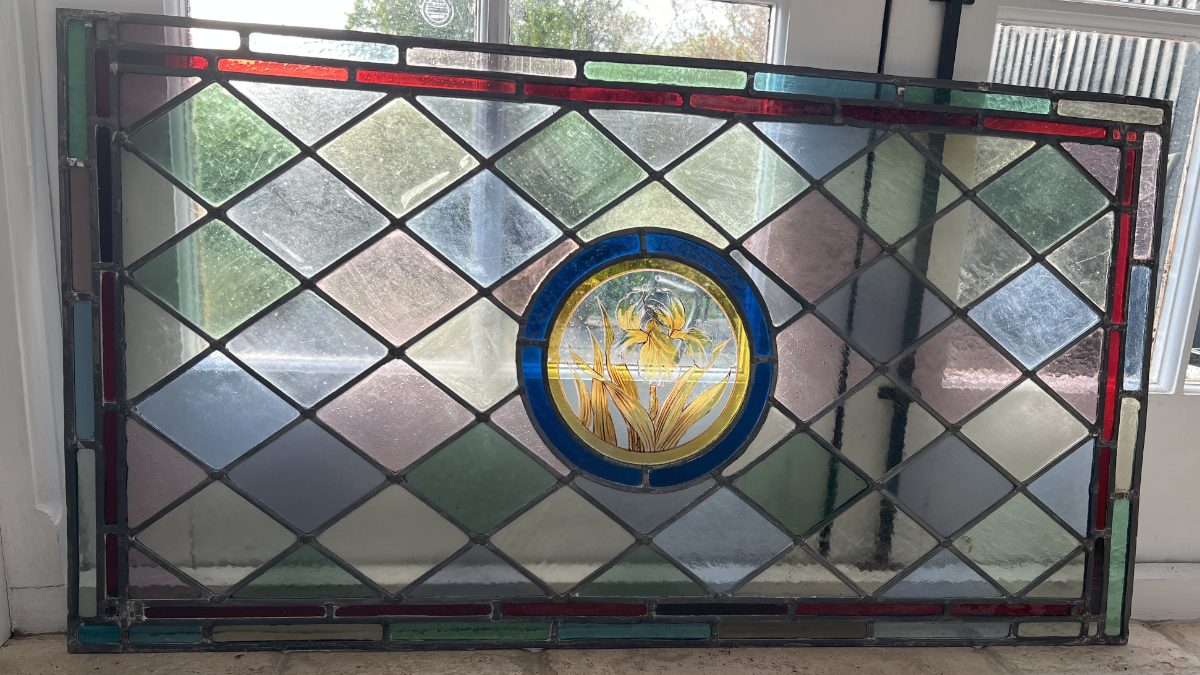
Recently I was invited to resize a Victorian stained glass window so it could be repurposed for an interior space. The couple had found the window in storage in a muddy and unloved condition when they bought their house. It matched existing stained glass windows around the porch and hallway, with pale coloured diamonds and hand-painted central roundels featuring nature subjects.
They wanted to reuse the discovered panel in an internal wall between a bathroom and hallway. The problem with this idea was that the window was of a vertical orientation and the new location was a horizontal one and smaller than the panel.
Even before the window was cleaned up it was clear that a lot of the glass pieces were broken or cracked, especially those around the border. Another issue was that the central painted roundel of an iris would need to be rotated.
Having taken measurements of the new hole in the wall, we agreed the dimensions that the window would need to be and I brought it back to my studio to start the transformation.
After a lot of cleaning of mud and old paint splatters, I marked all the pieces of glass that would need to be replaced, which was well over 20. Next, I marked the window at each end where it would be cut down to fit its new location. The couple wanted to retain a border all round the panel and keep as much of the original glass and lead as possible. I carefully scored each piece of glass along the cutline and cut into the lead joints on both sides, ready to break each end section off. Thankfully, this went successfully. Then I began replacing the cracked and broken pieces of glass in the central area of the panel.
Once the central pieces were replaced I began on the borders, carefully removing damaged pieces and measuring and fitting replacement pieces. The owners had given me a bucket of glass pieces from another more destroyed panel so I used pieces from that to maintain the authenticity.
Next I had to cut down the end sections I had removed and plan how the new border would attach to the central panel border at the smaller size.
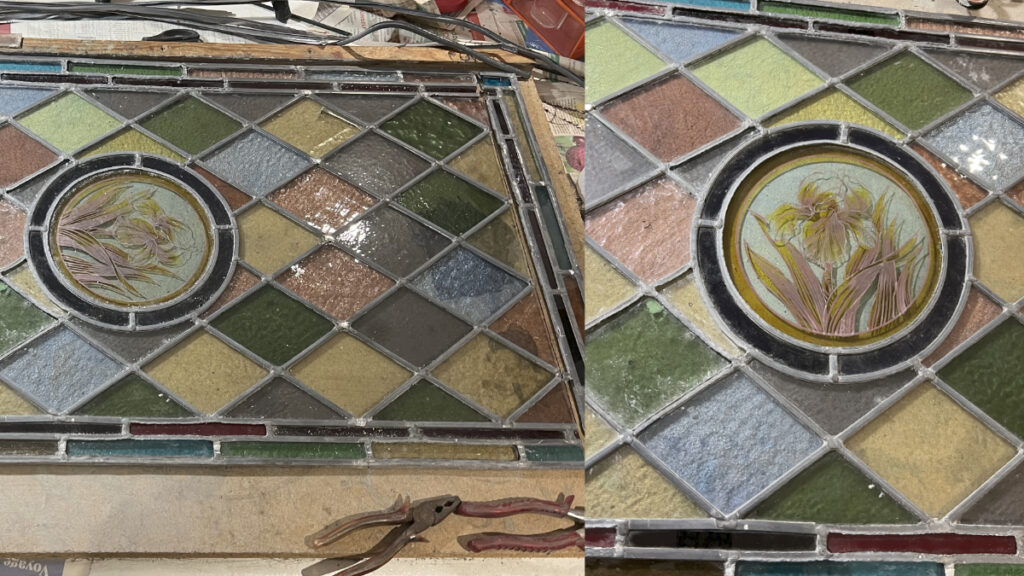
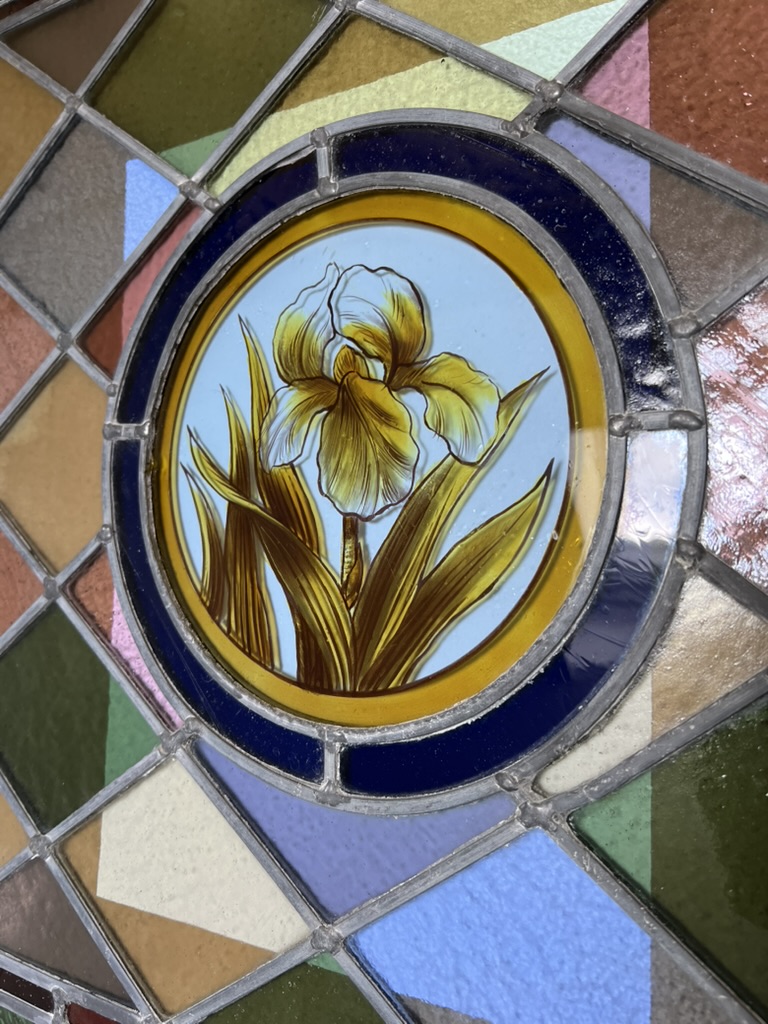
When the glass was all replaced and the ends had been reattached, I set about turning the central iris panel. This involved carefully removing the old filler from both sides all round the roundel. When it still would not move, I had to carefully press into the heart of the lead to gain just a tiny amount of gap so that the glass could be carefully turned round.
When the central panel had been rotated I could start to fill the leads round all the replaced areas, before cleaning and blacking the new leads to match the existing ones.
This was a painstaking project but the results were great and the couple were very pleased with their updated stained glass window.




0 Comments